

COMPUTER APPLICATION WIPS
Below are the steps I did using Revit to complete Project 1. These Work in Progress (WIP) print screens and test renderings are uploaded here to act as a progressive evidence of my working process.

The building I've chosen.


1. Load the reference drawings : plans.
2. Scale the drawings.
3. Create walls and floor of the ground floor.


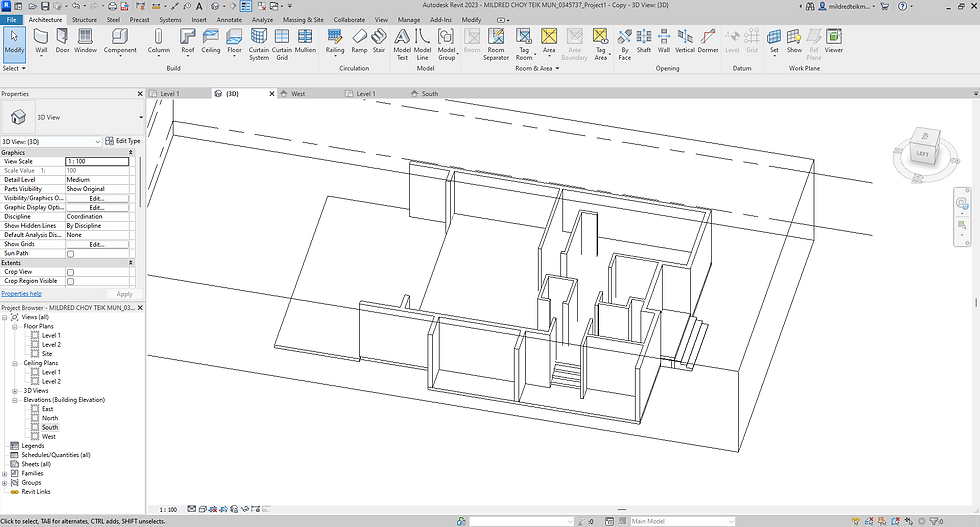

4. Going through errors and trials and finally learned how to do steps.


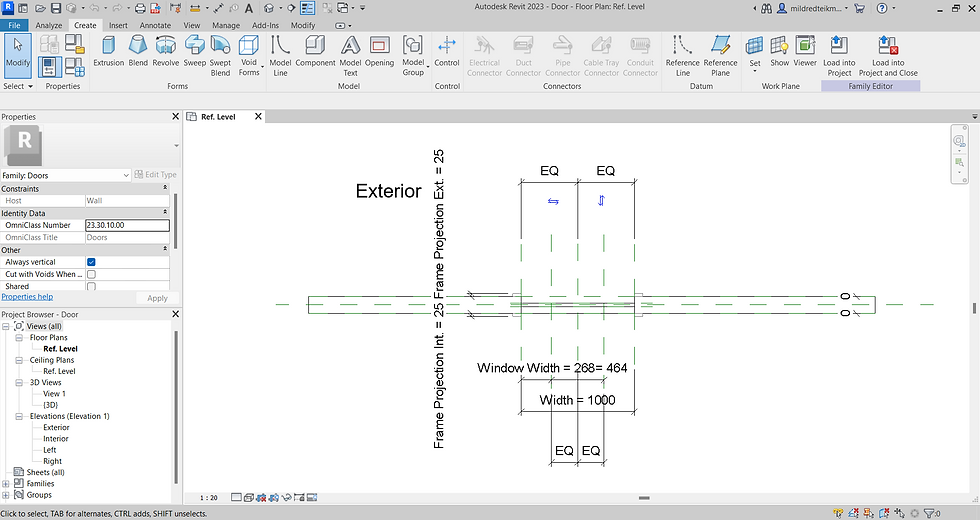


5. Created a family for the entrance door, went through a lot of errors and trials as well.


6. Created a family for the window.


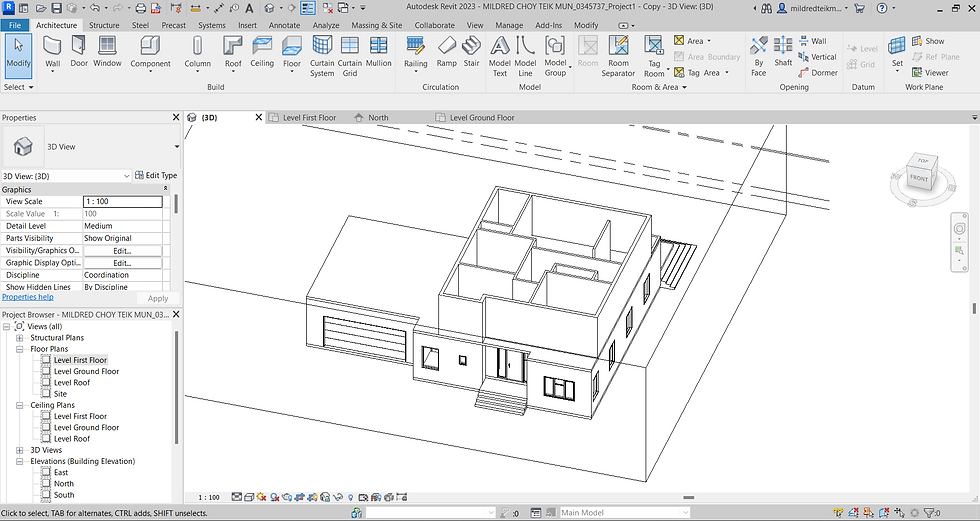
7. Loaded the door and windows into the project, the garage door as well, the size was too small so I duplicated and changed the width of it.
8. Completed the floor and walls on the first floor.


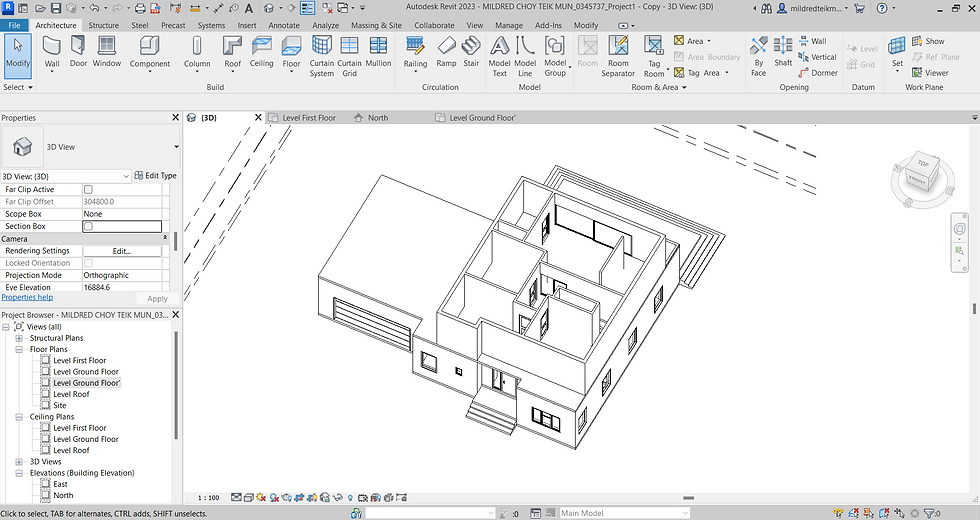

9. The stairs was added as well as the window and door on the first floor. Went through a lot of trials and error at this stage as well due to misunderstanding on the given plans.


10. Completed the documentation.

The building I've chosen.


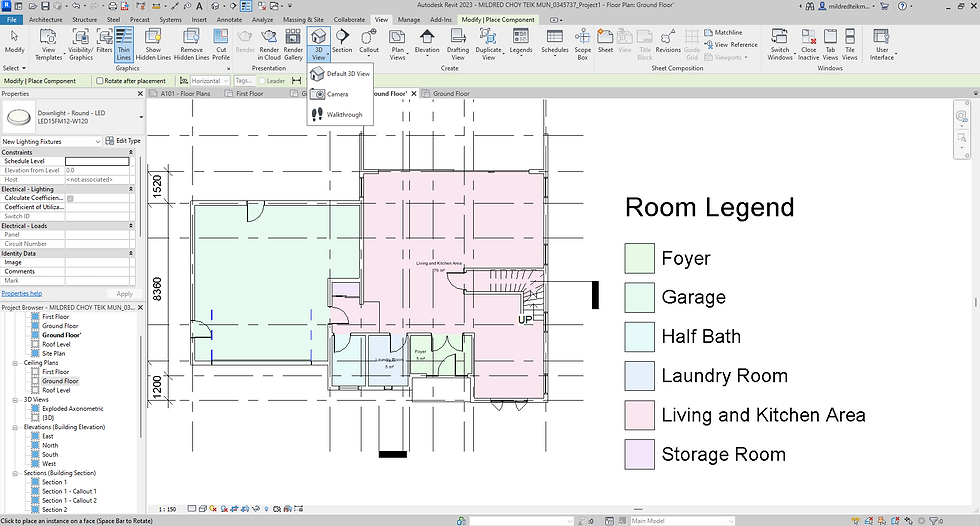


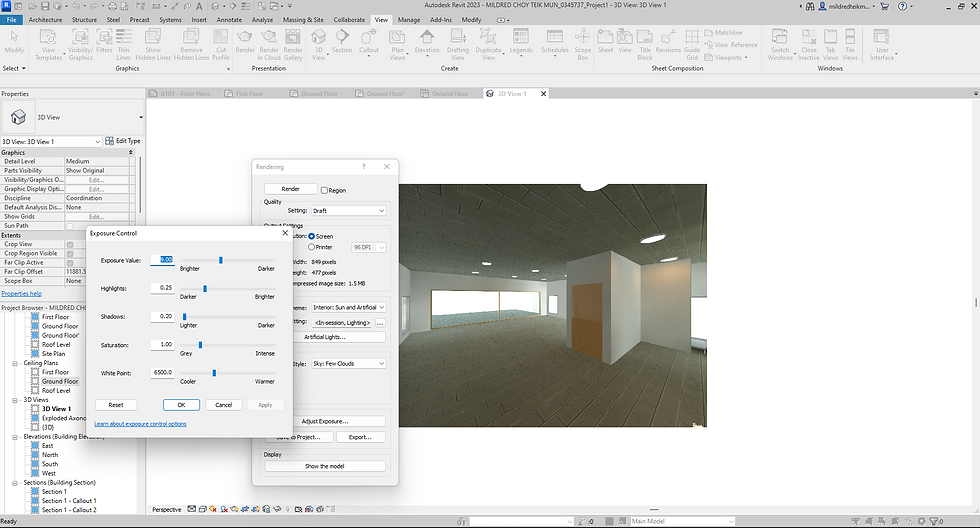
1. Adding Artificial Lights
2. Adding camera
3. Render the interior


4. Export Revit model to 3DS MAX
5. Import file to 3DS MAX
6. Add and adjust camera to eye level
7. Add and adjust sun


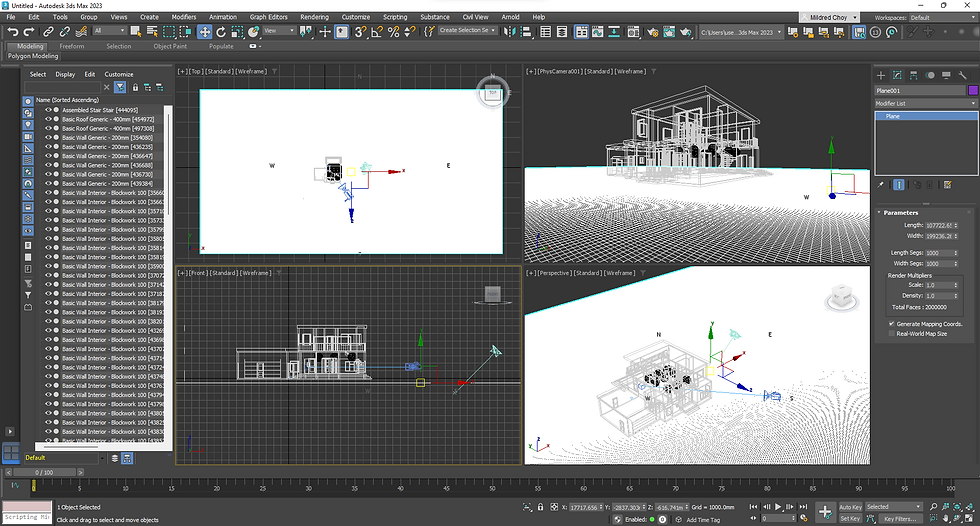


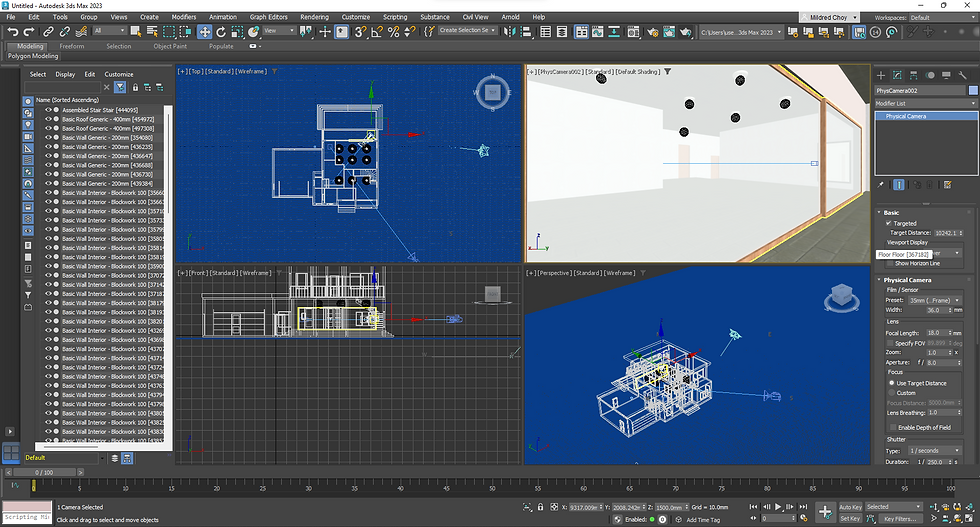
8. Render the exterior
9. Do settings to adjust the rendering effect
10. Add a plan and edit material for the water elements


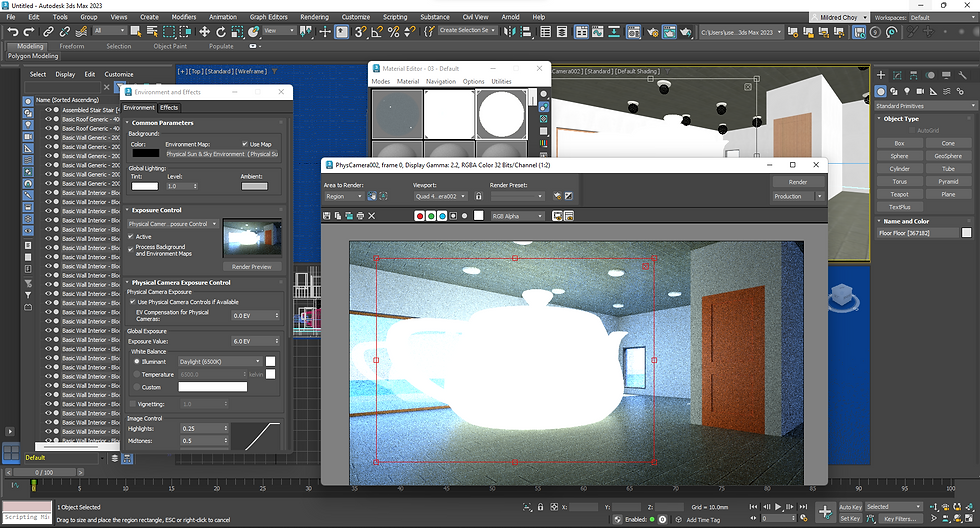


11. Interior rendering adjustments
12. Placing furniture
13. Adjusting the sky intensity
14. Adjusting the interior lights


15. Use photoshop to remove the background of the rendered photo
16. Add images like the sky, trees, human figure and shadows


